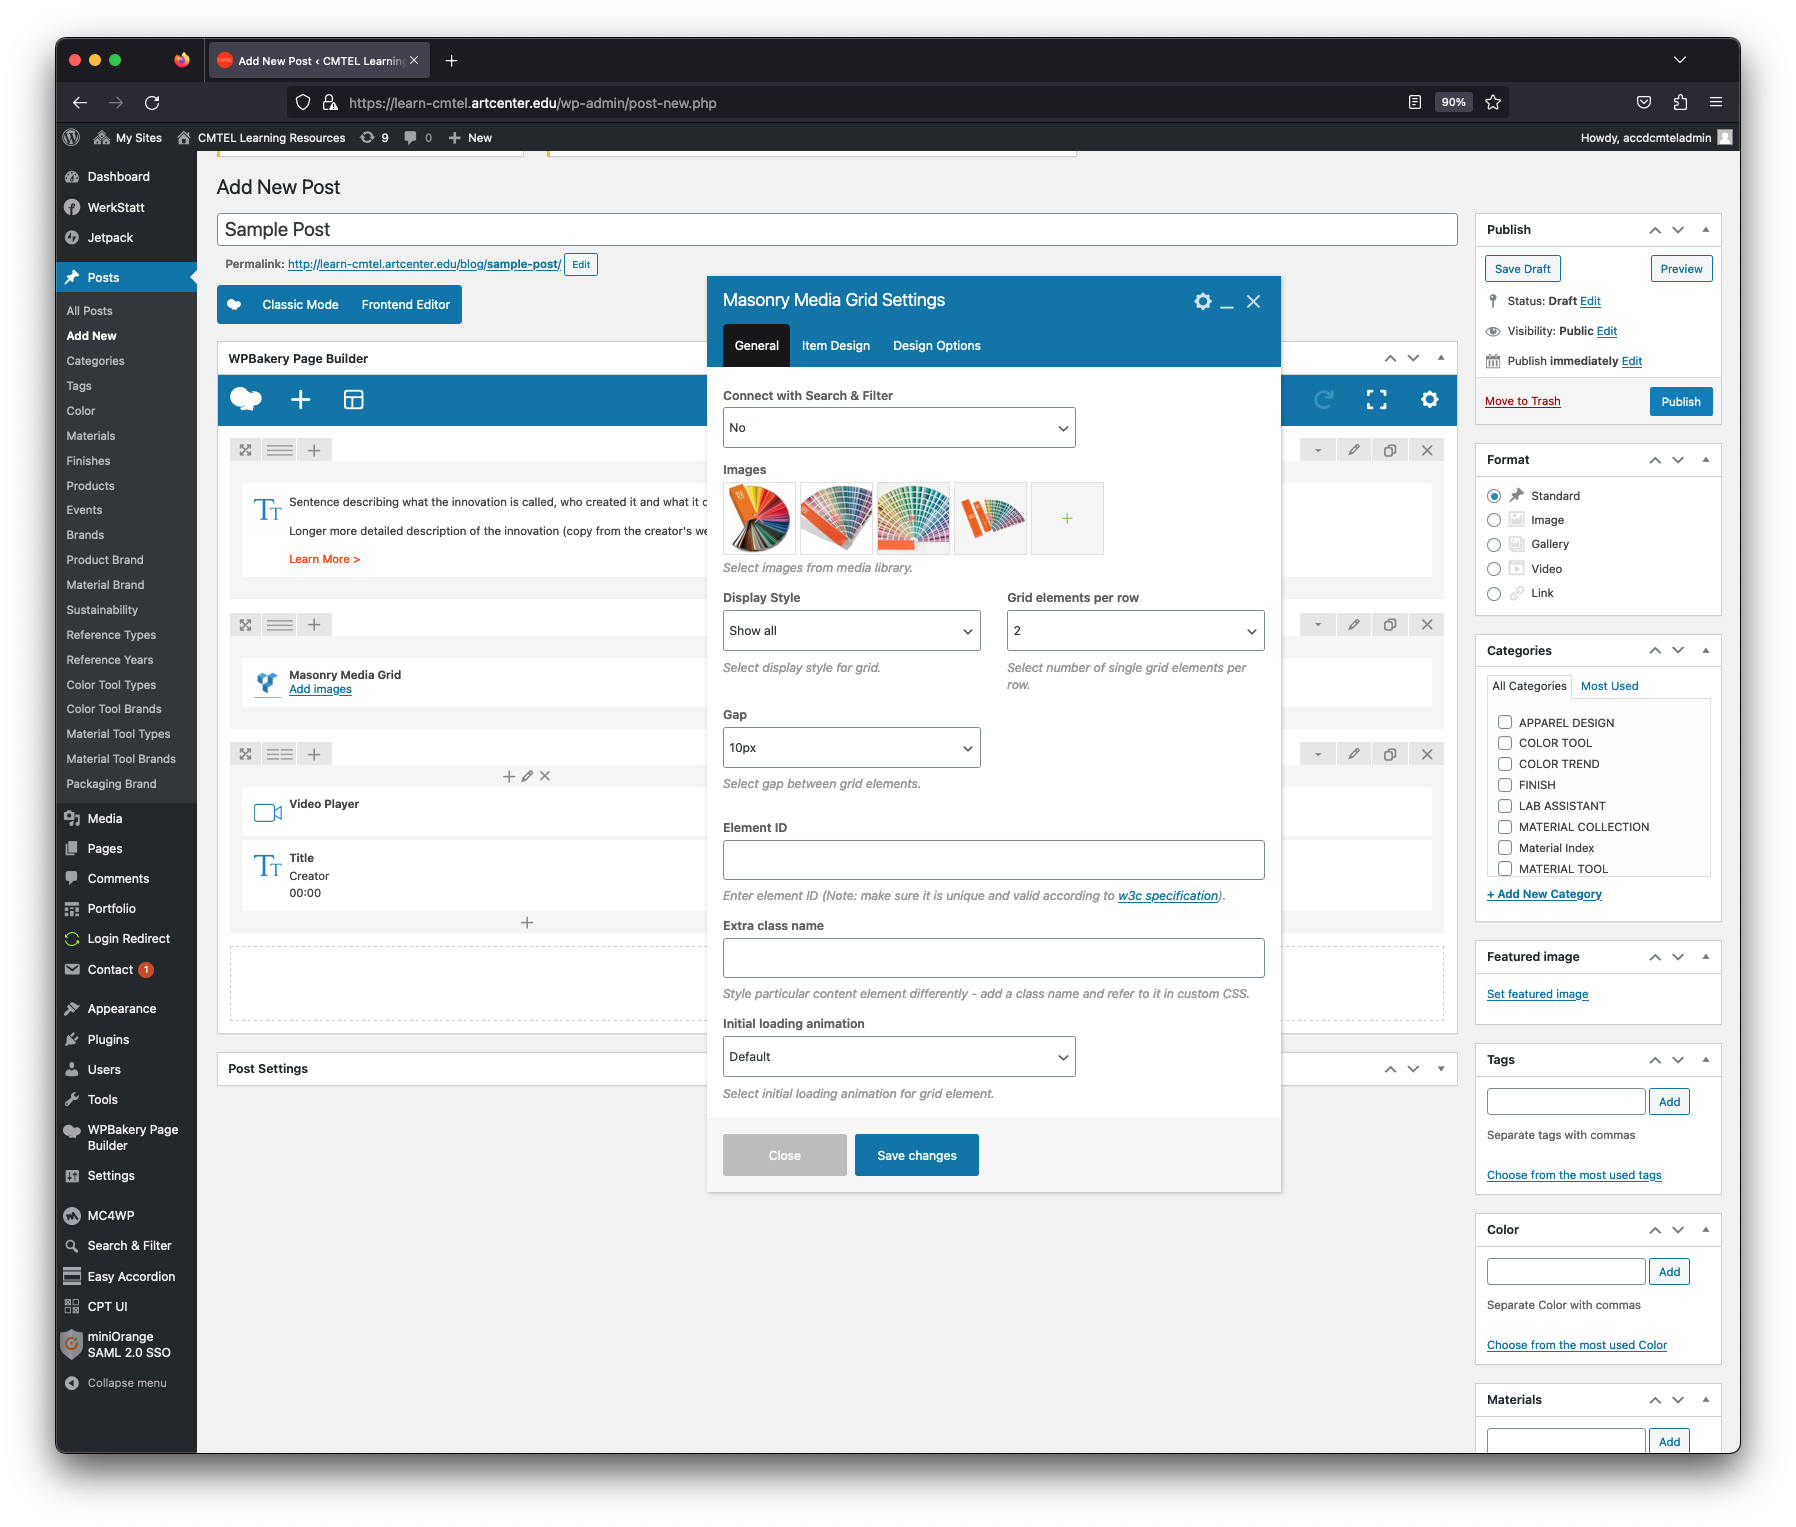


Adding A New Post (continued)
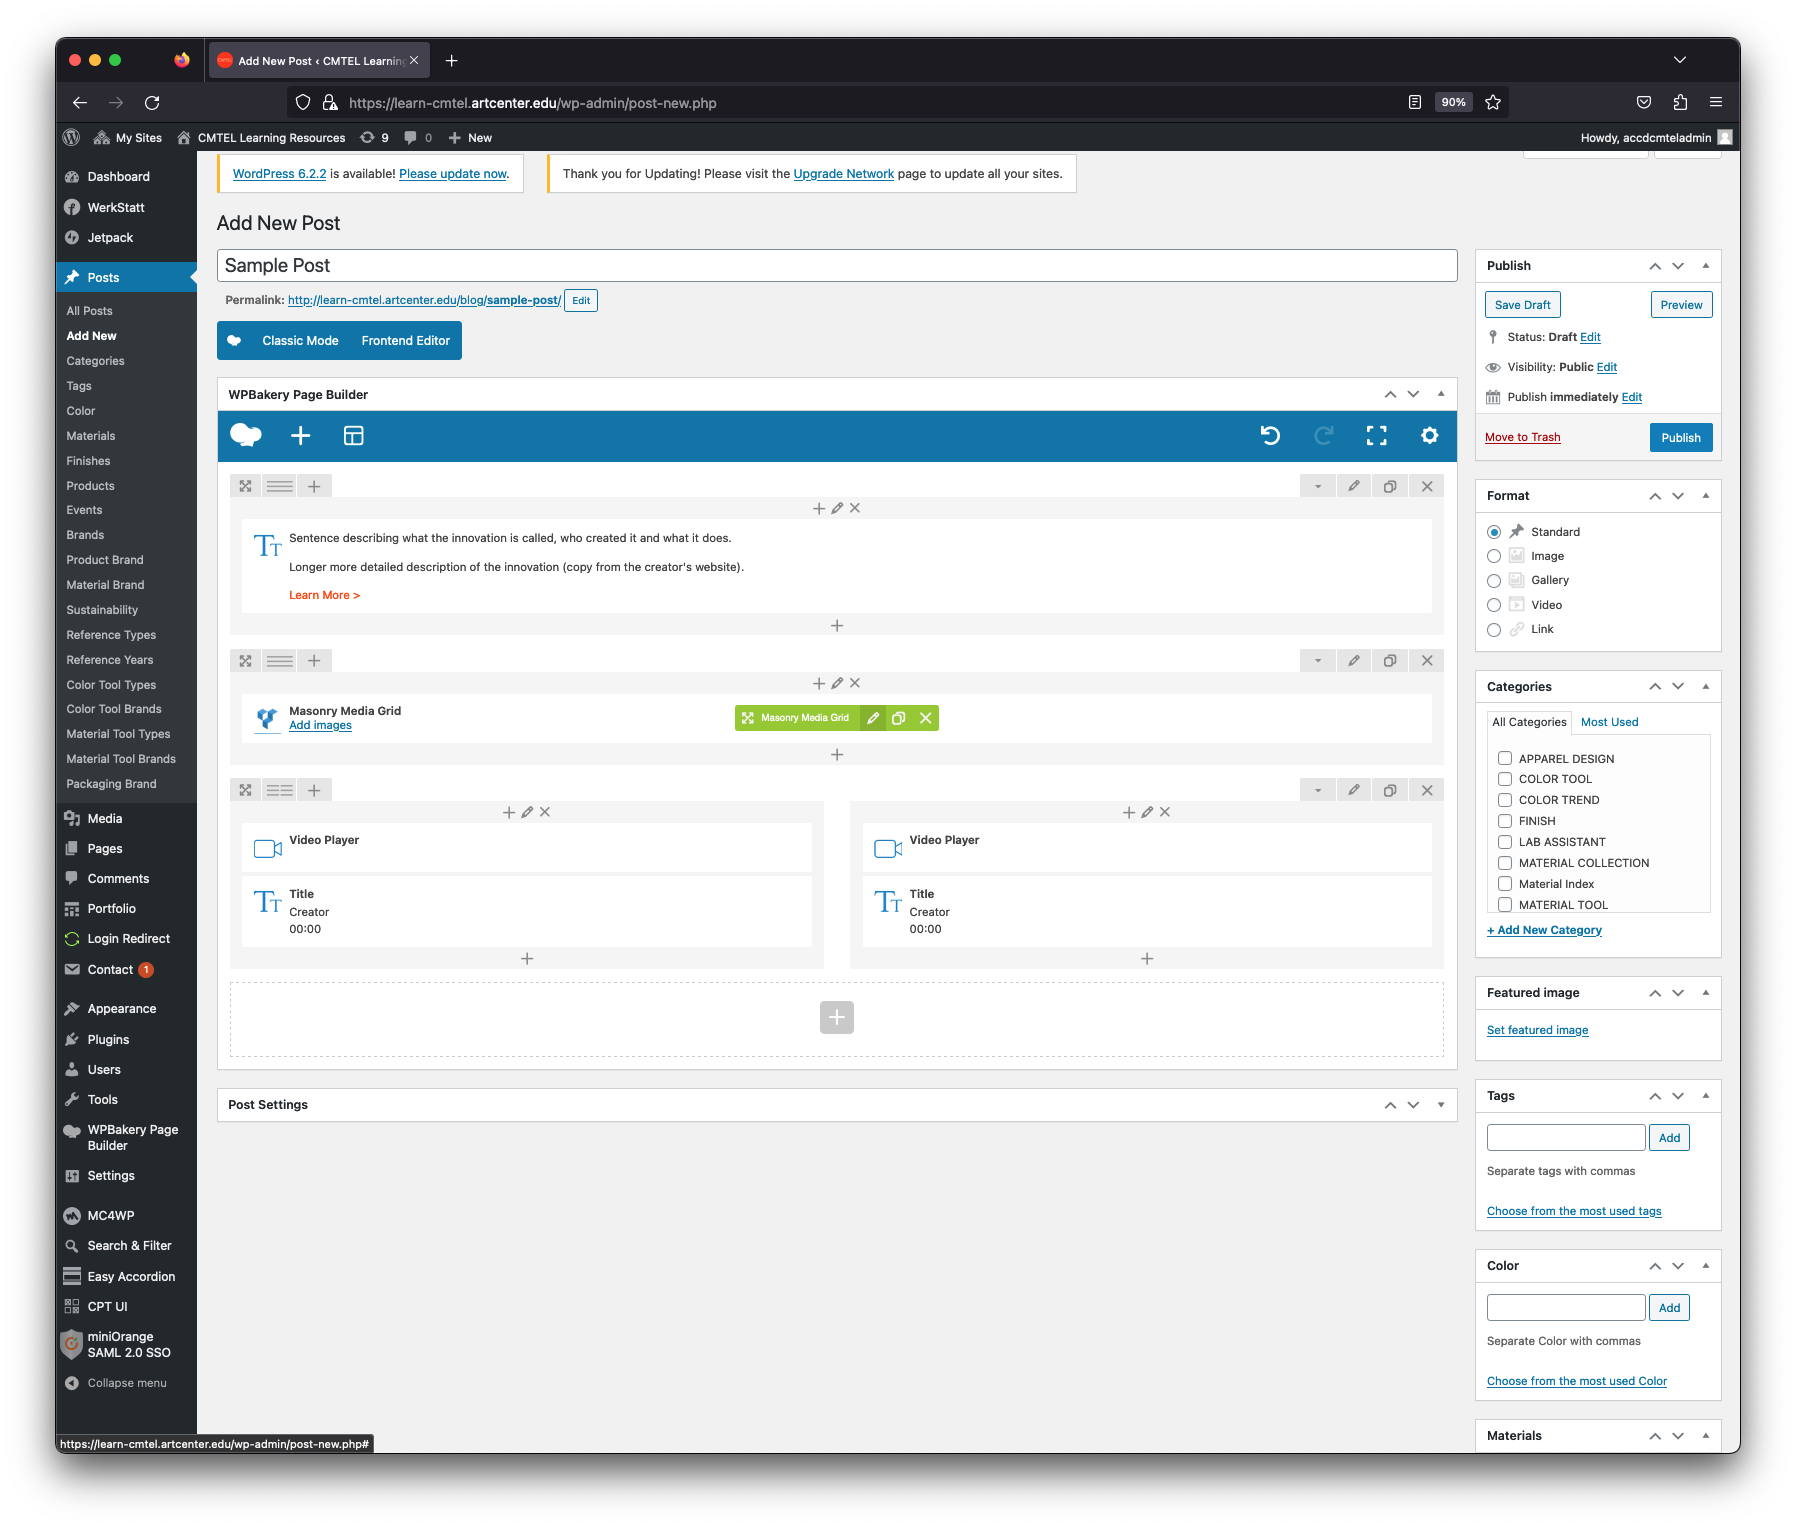
4. Images
Edit this second section by hovering your cursor over the area until the green menu pops up (highlighted in red in the image). Select the pencil icon to “Edit Masonry Media Grid“. Please make sure that you have already saved all the images of the innovation before proceeding with editing.
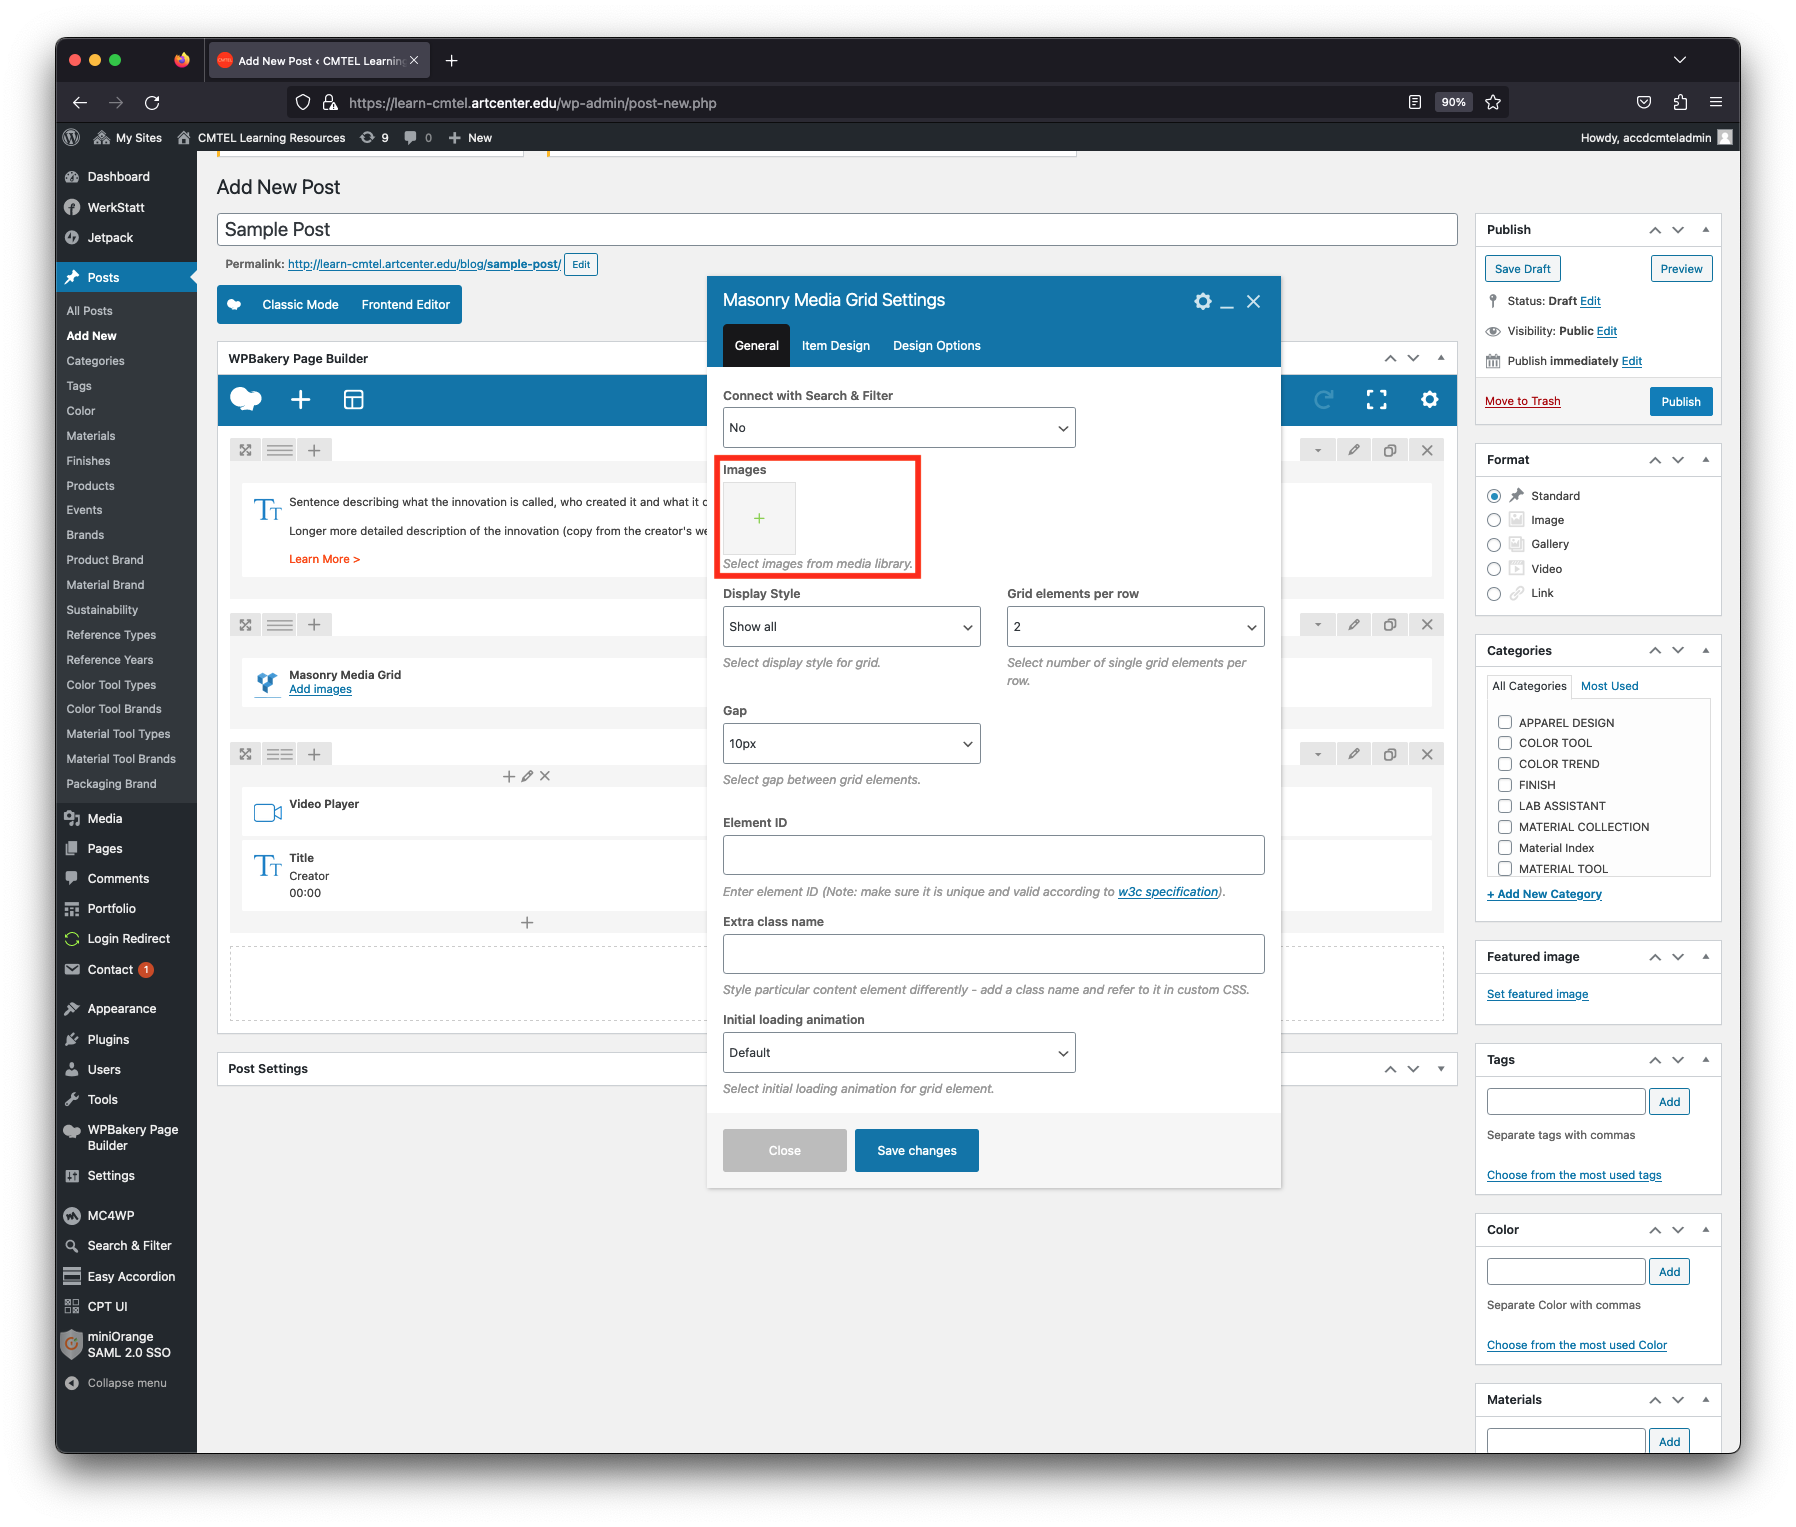
The “Masonry Media Grid Settings” window will appear and you will upload all your saved images here.
Choose the “Select images from media library.” option by clicking on the grey square with the green cross in the center.
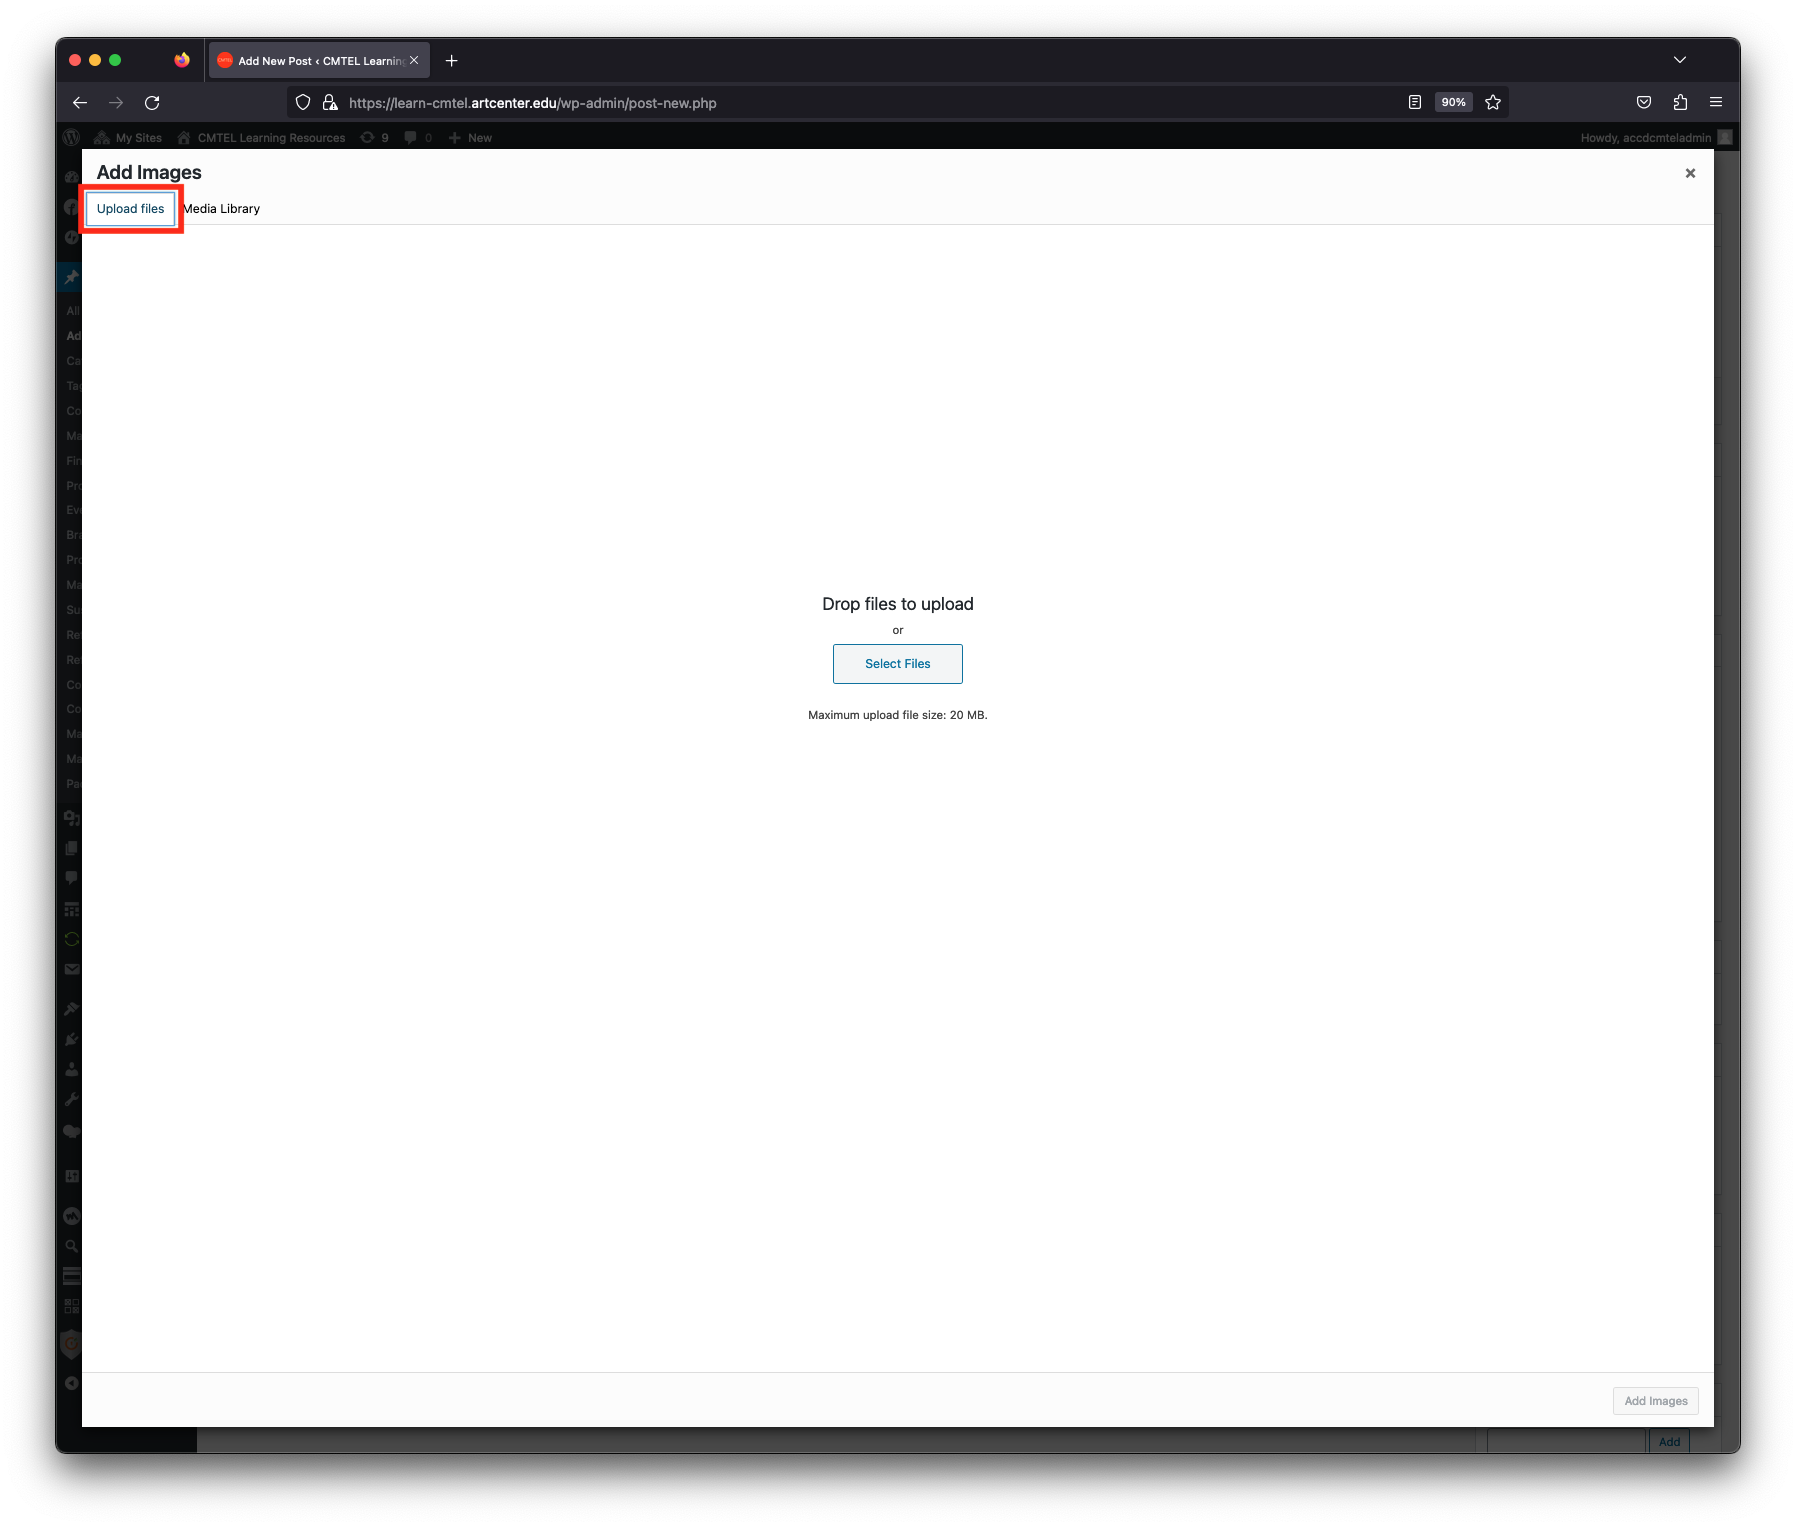
The “Add Images” window will appear and you will see images already uploaded to the Media Library.
Choose the “Upload files” tab option in the upper left hand corner. This tab will allow you to click on the “Select Files” button to upload the saved images; you can select more than one image at a time to upload.
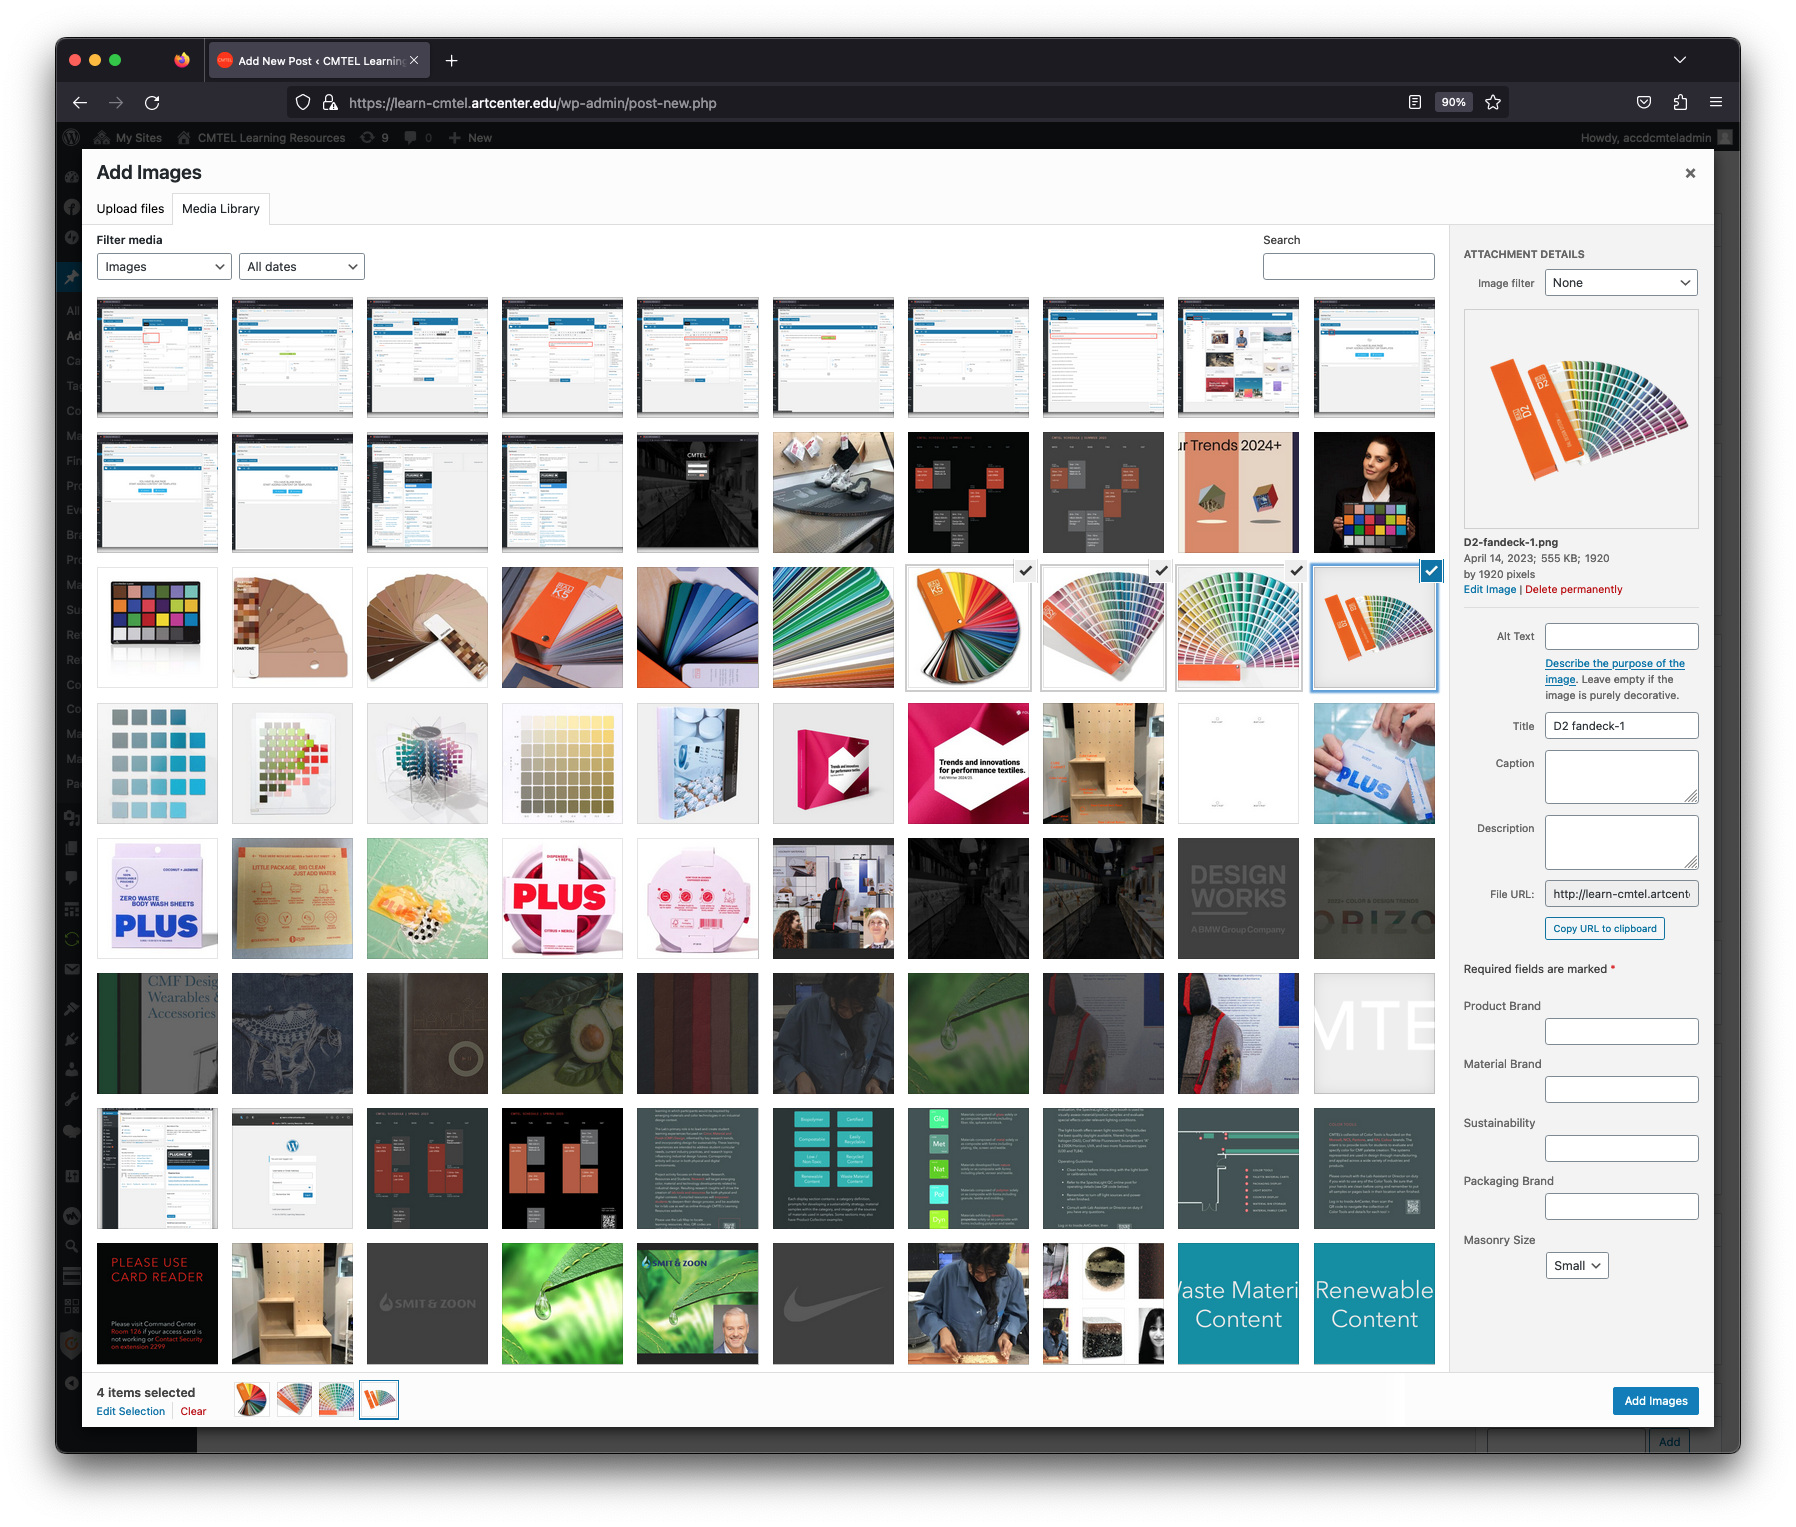
After all your images have uploaded you will then see the “Media Library” tab view with all the uploaded images with a check mark in the upper right hand corner of the image thumbnail. This means that image is selected for the Masonry Media Grid. If you want to de-select an image, mouse over the check mark and it will turn into a minus. When you click it the image will be de-selected.
After you have chosen all the images for the Masonry Media Grid, click on the blue “Add Images” button in the lower right hand corner.